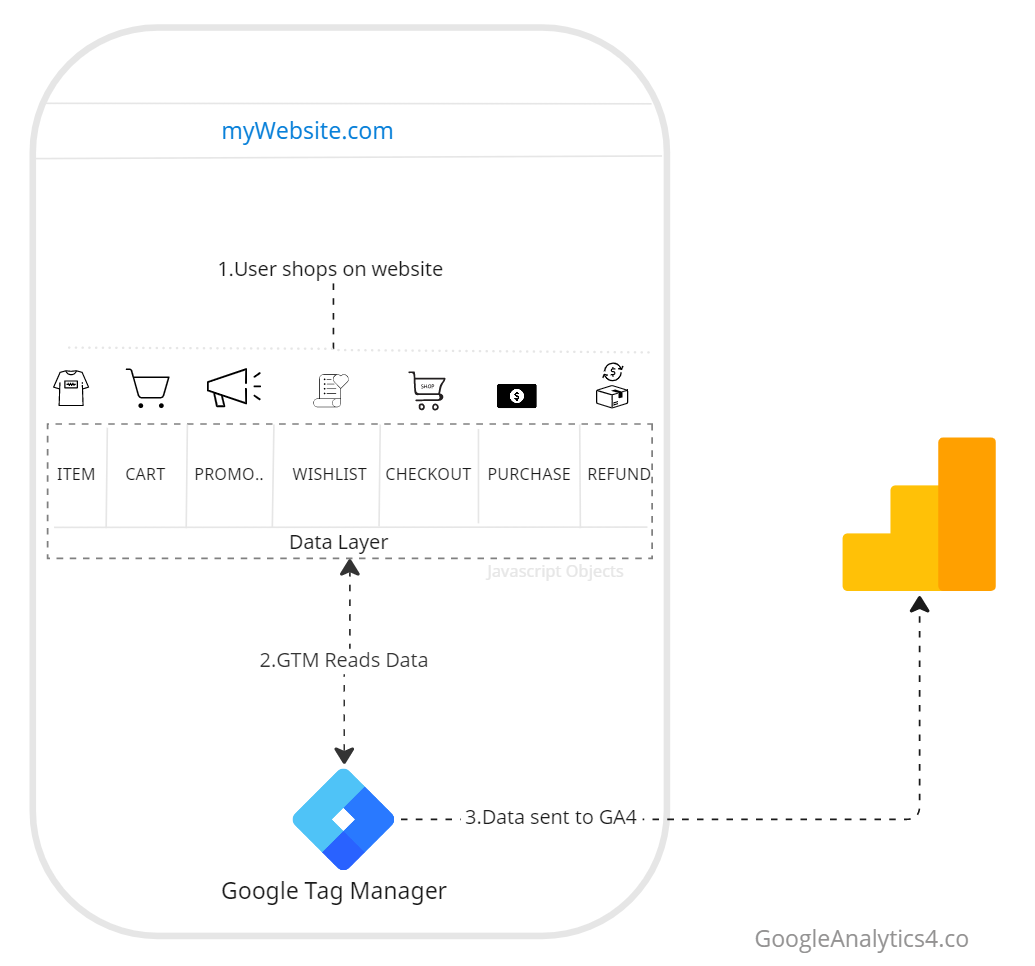
Installing Google Analytics 4 with Google Tag Manager
To install Google Analytics 4 on our website with Google Tag Manager, we will follow these steps.
- Get ” Google Tag”. It is the code required for Google Analytics to start collecting data. To obtain the code, you can follow this guide on setting up Google Analytics 4.
- Create a Google Tag Manager container and install it on your website. You can follow this article to create a Google Tag Manager container.
- Configure Google Tag Manager to execute Google Analytics 4 code for our website.
Configuring Tag Manager for Google Analytics 4
Configuring google analytics 4 requires :
- Creating GA4 tag
- Adding GA4 measurement ID to use.
- Creating a trigger to execute the tag
Create Google Analytics 4 Tag
A tag is a visual way of writing code. GTM makes it easy for end users to avoid writing lines of code and rather do it with point and click interface.
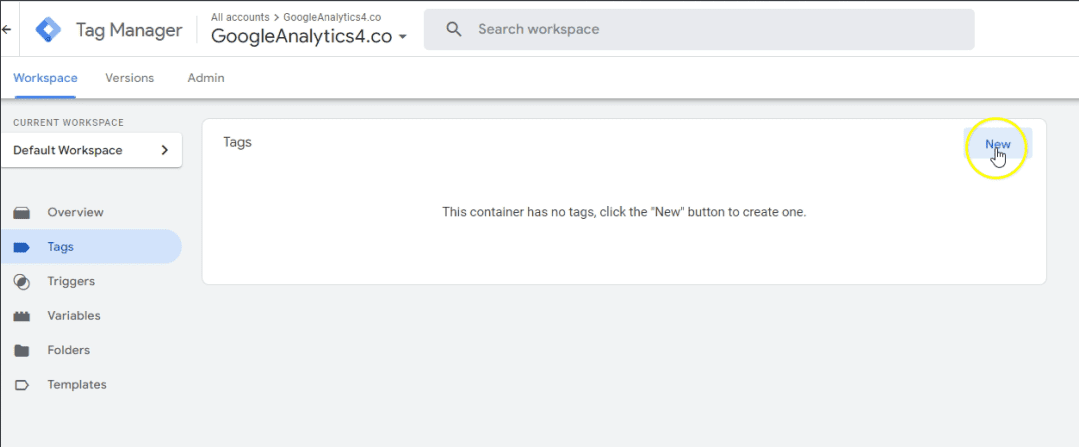
- Click on the New button on Tags screen.
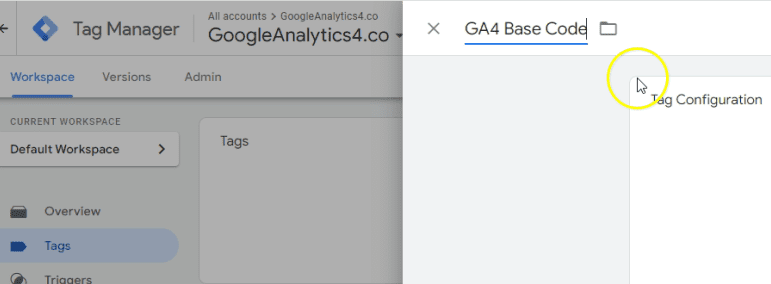
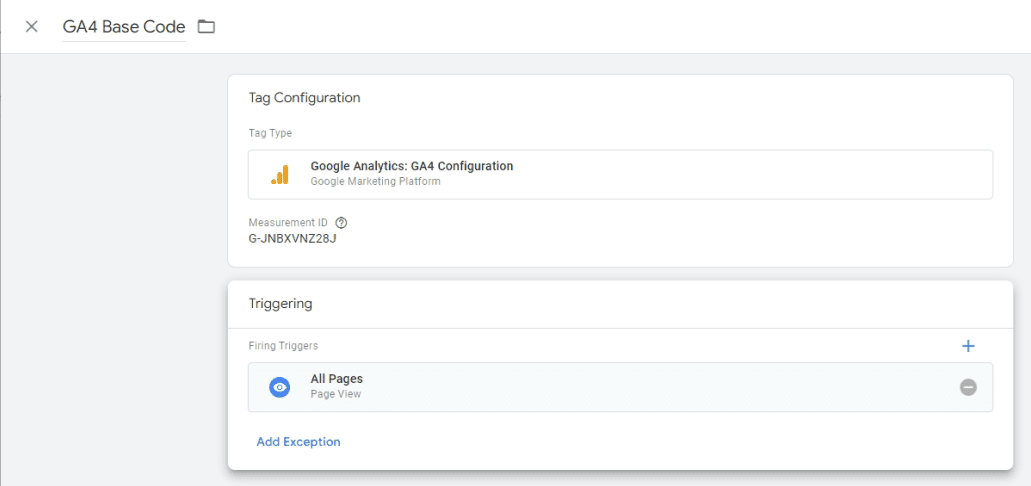
2. Choose a Name for the tag. In this example, I have chosen “GA4 Base Code”. The folder icon next helps in organizing your tags in folder.
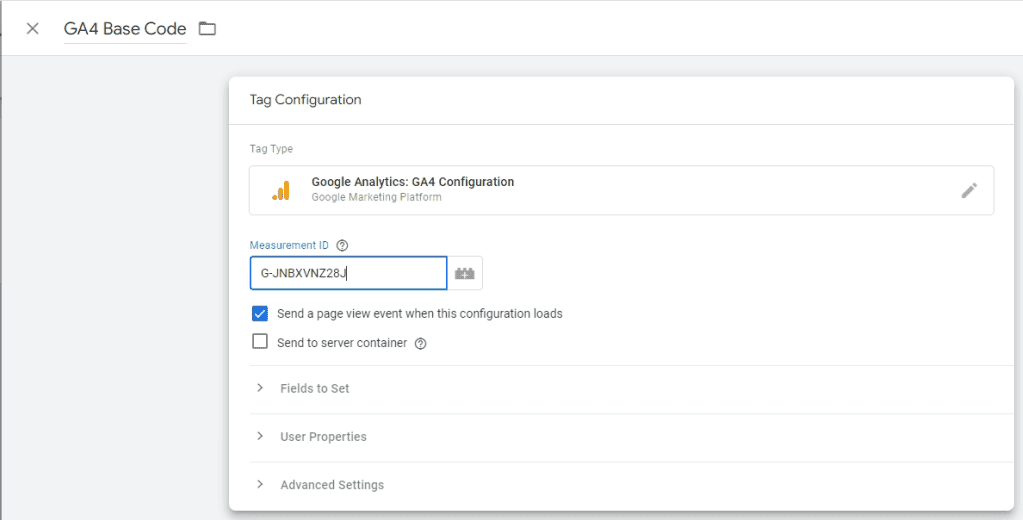
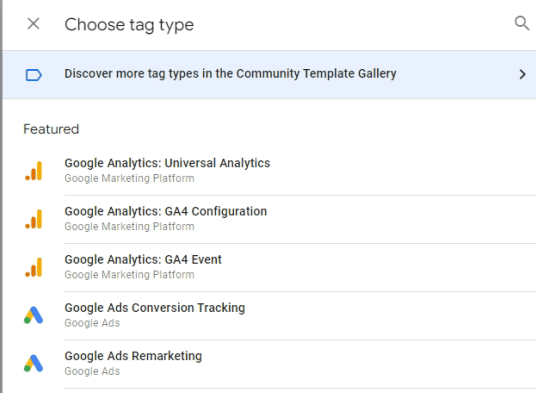
3. Click on Tag Configuration to select Google Analytics: GA4 Configuration.
4. Now that you have created the tag. Go to google analytics and copy the Measurement ID for the analytics account you want to set up. Paste measurement ID in the field withing your tag.

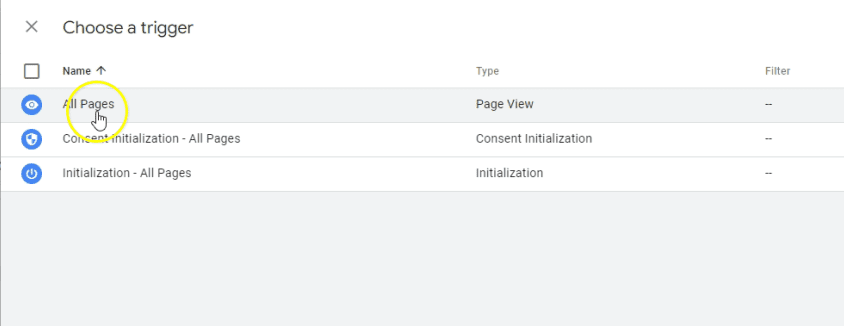
Add Trigger to GA4 Tag
A trigger defines the condition on when the Tag ( line of code ) should be execute. Click on “Choose a trigger” on the screen above. Since Google Analytics 4 tag should be executed on all pages. Select All Pages.
Once done, your final tag with trigger will look like this.
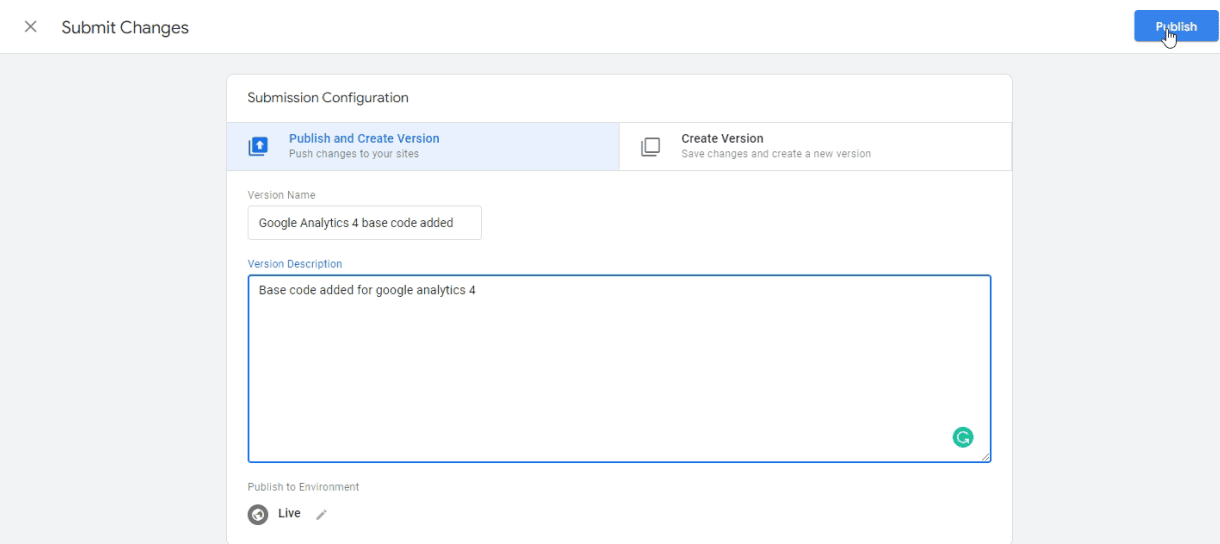
Publish Google Analytics 4 tag.
The last step in getting the data is to publish the GA4 tag. click on “Submit”.

Finally, add the version name and description. This text will remind you later on what was the purpose of this tag. It is always a good practice to write the version name and description. Click on “Publish” and you are done.
After submitting, you can see the confirmation that your container has been published.
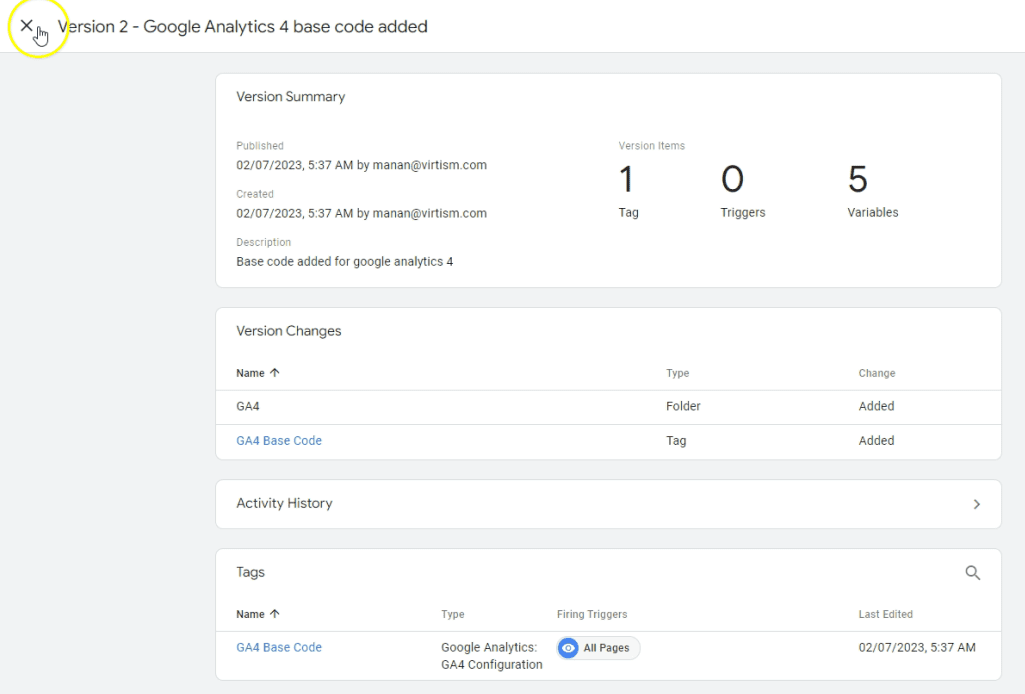
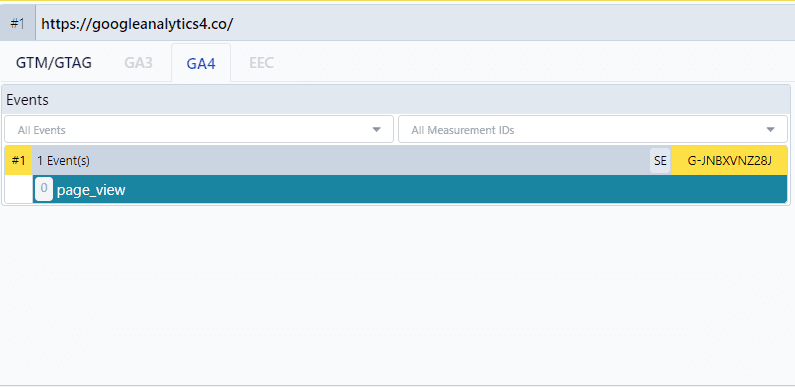
You will now start to see Google Analytics 4 data flowing in your data stream.
It might take a few minutes for data to flow in. In the meantime, if you want to confirm data collection, you can use the Analytics Debugger chrome extension. Once loaded, it will show that data is being collected.
Responses